

Travelers from all over New England and the rest of the world flock to New Hampshire’s White Mountains for the stunning fall foliage displays. If you’re hoping to go on some moderate hikes and snap beautiful photos, this 3-day fall itinerary is for you. In fact, this is the exact trip I took in 2021 from Boston as an active traveler and photography enthusiast.
Stay till the end for a free, interactive map of all the recommended spots!
This post contains affiliate links, meaning that I may earn a small commission on any purchases or bookings made through those links, at no extra cost to you. This income keeps this site running and is much appreciated!
Table of Contents
When Does the Fall Foliage Peak?
The foliage in the White Mountains historically starts to show in mid-September and typically peaks after the first or second week of October. You can check the Visit NH foliage tracker to see what the current situation is like.
We went October 8-10, and the colors were brilliant, but there was still definitely a decent amount of green leaves on the trees. Just a few days to a week after would’ve probably been the ideal time to visit. The weekdays would’ve been especially nice because the park was so packed that weekend!
Where to Stay in the White Mountains
Accommodations book up extremely quickly during peak foliage, and prices can be astronomical. Try to book at least a couple months in advance, if you can.
For budget accommodations, you may need to stay outside of the White Mountains, like we did. We ended up getting a Airbnb camper in St. Johnsbury, Vermont, which was about 45 minutes away from the White Mountains. The extra drive wasn’t too bad because it was quite scenic, and the town itself still offers rolling mountain views. For a stay with more amenities, you may consider Comfort Inn & Suites Near Burke Mountain (the name’s a mouthful), also in St. Johnsbury.

Otherwise, consider these hotels closer to the White Mountains:
- Sugar Hill Inn: bed and breakfast offering 5-star dining in a historic farmhouse close to Franconia Notch State Park
- Adair Country Inn & Restaurants: historic inn nestled in the hills of Bethlehem, NH
- InnSeason Resorts Pollard Brook: resort in Lincoln, NH, a convenient starting point for exploring White Mountains; has tennis courts, indoor/outdoor pools, and a playground
- Inn at Jackson: the former summer home of the Baldwin piano family turned into an inn near Mt. Washington, the tallest mountain in the Northeastern US
- Comfort Inn & Suites North Conway: classic hotel in a popular starting point for visits to the White Mountains
If you prefer apartment rentals, try these VRBOs in the White Mountains.
White Mountains 3-Day Fall Itinerary
Day 1: Dog Mountain

If you’re coming from Boston, it’ll likely be afternoon by the time you arrive. We left Boston at 1pm and didn’t arrive until 4-5pm, so it was already the golden hour after finding the camper and settling in.
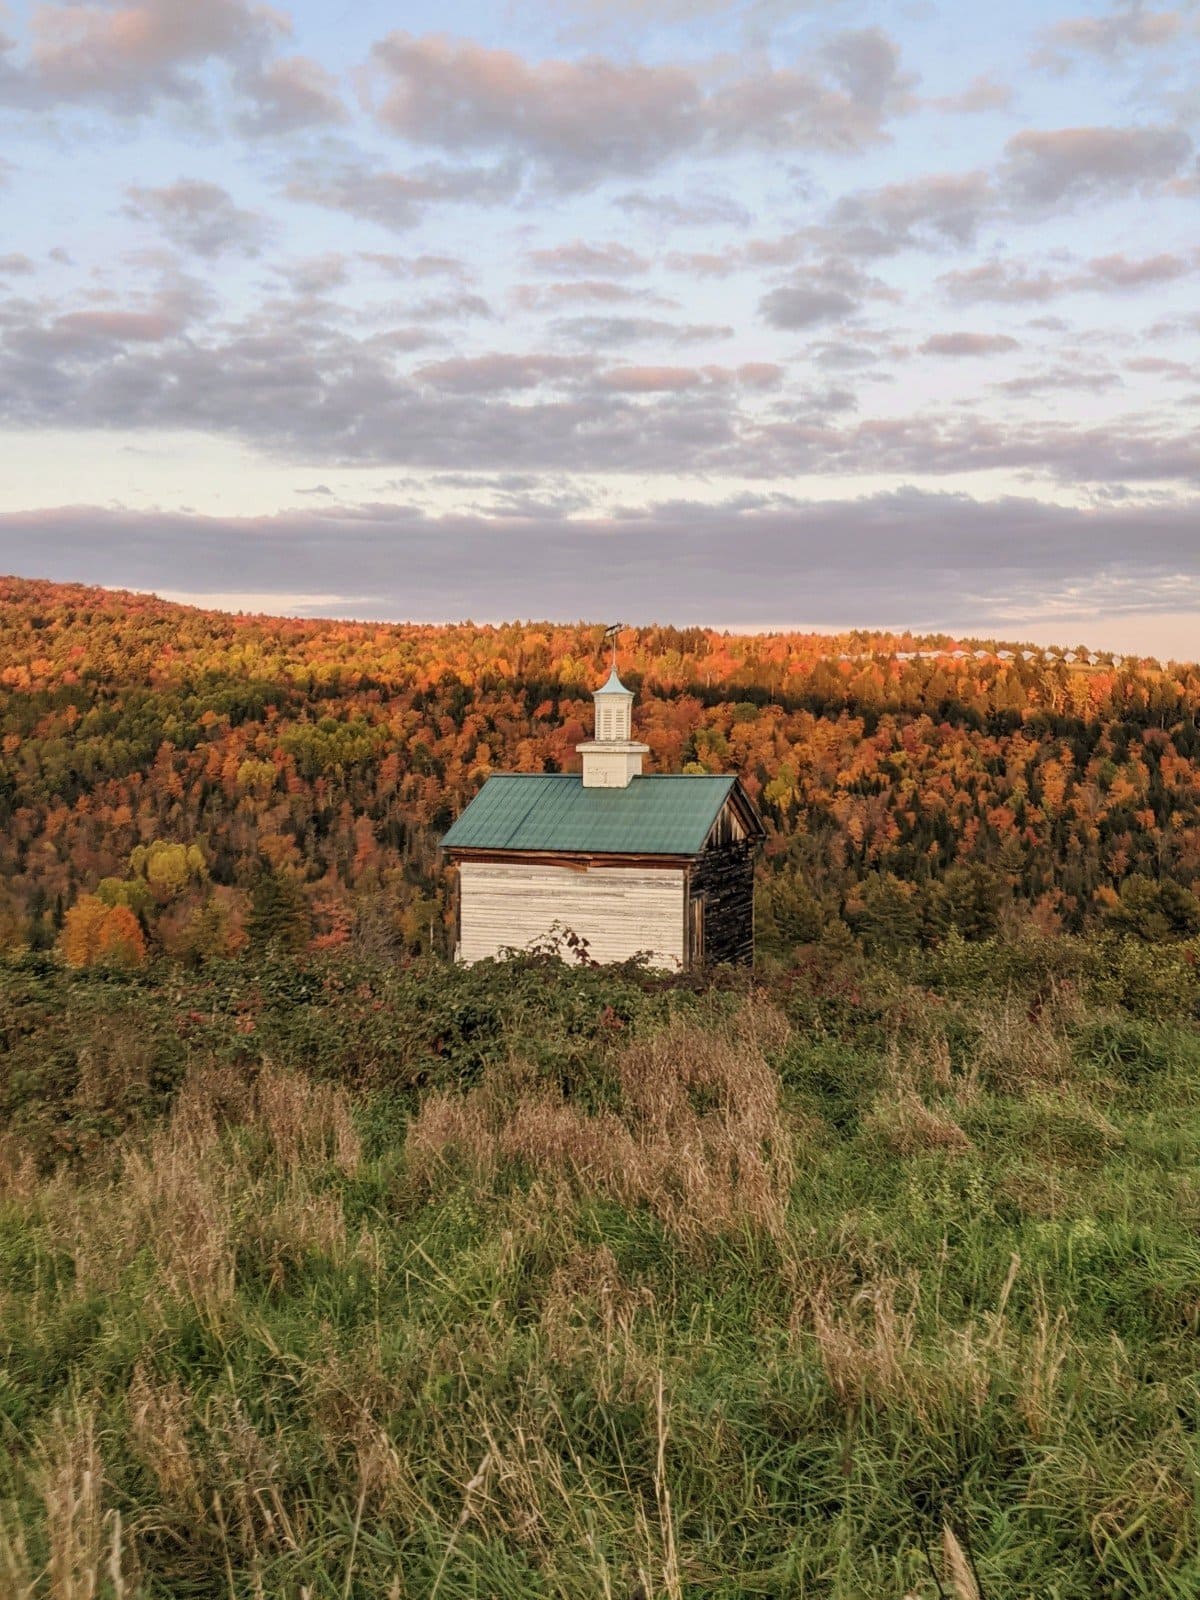
Since we stayed in St. Johnsbury, we decided to go to Dog Mountain, a popular scenic spot only short drive away. Dog Mountain is nestled among farmland and offers scenic mountain and foliage views. On the mountain, there’s a small chapel where visitors can leave photos of their dogs who have passed on, along with notes and stories.


Locals also often bring their dogs to run around the grassy fields, and there are some very short walking trails.
If you arrive with some extra time, you might consider checking out the Littleton Covered Bridge, which is about a 30-minute drive from St. Johnsbury. The town is said to be quite charming, and it also has a few breweries where you can have dinner and a drink.
Otherwise, Lake Willoughby is another popular spot 45 minutes away. There, you’ll find beautiful mountain views and clear water that you can even swim in! (Thought it will probably be a bit cold for swimming during fall foliage season).
Day 2: Mt. Crawford and the Kancamagus Highway
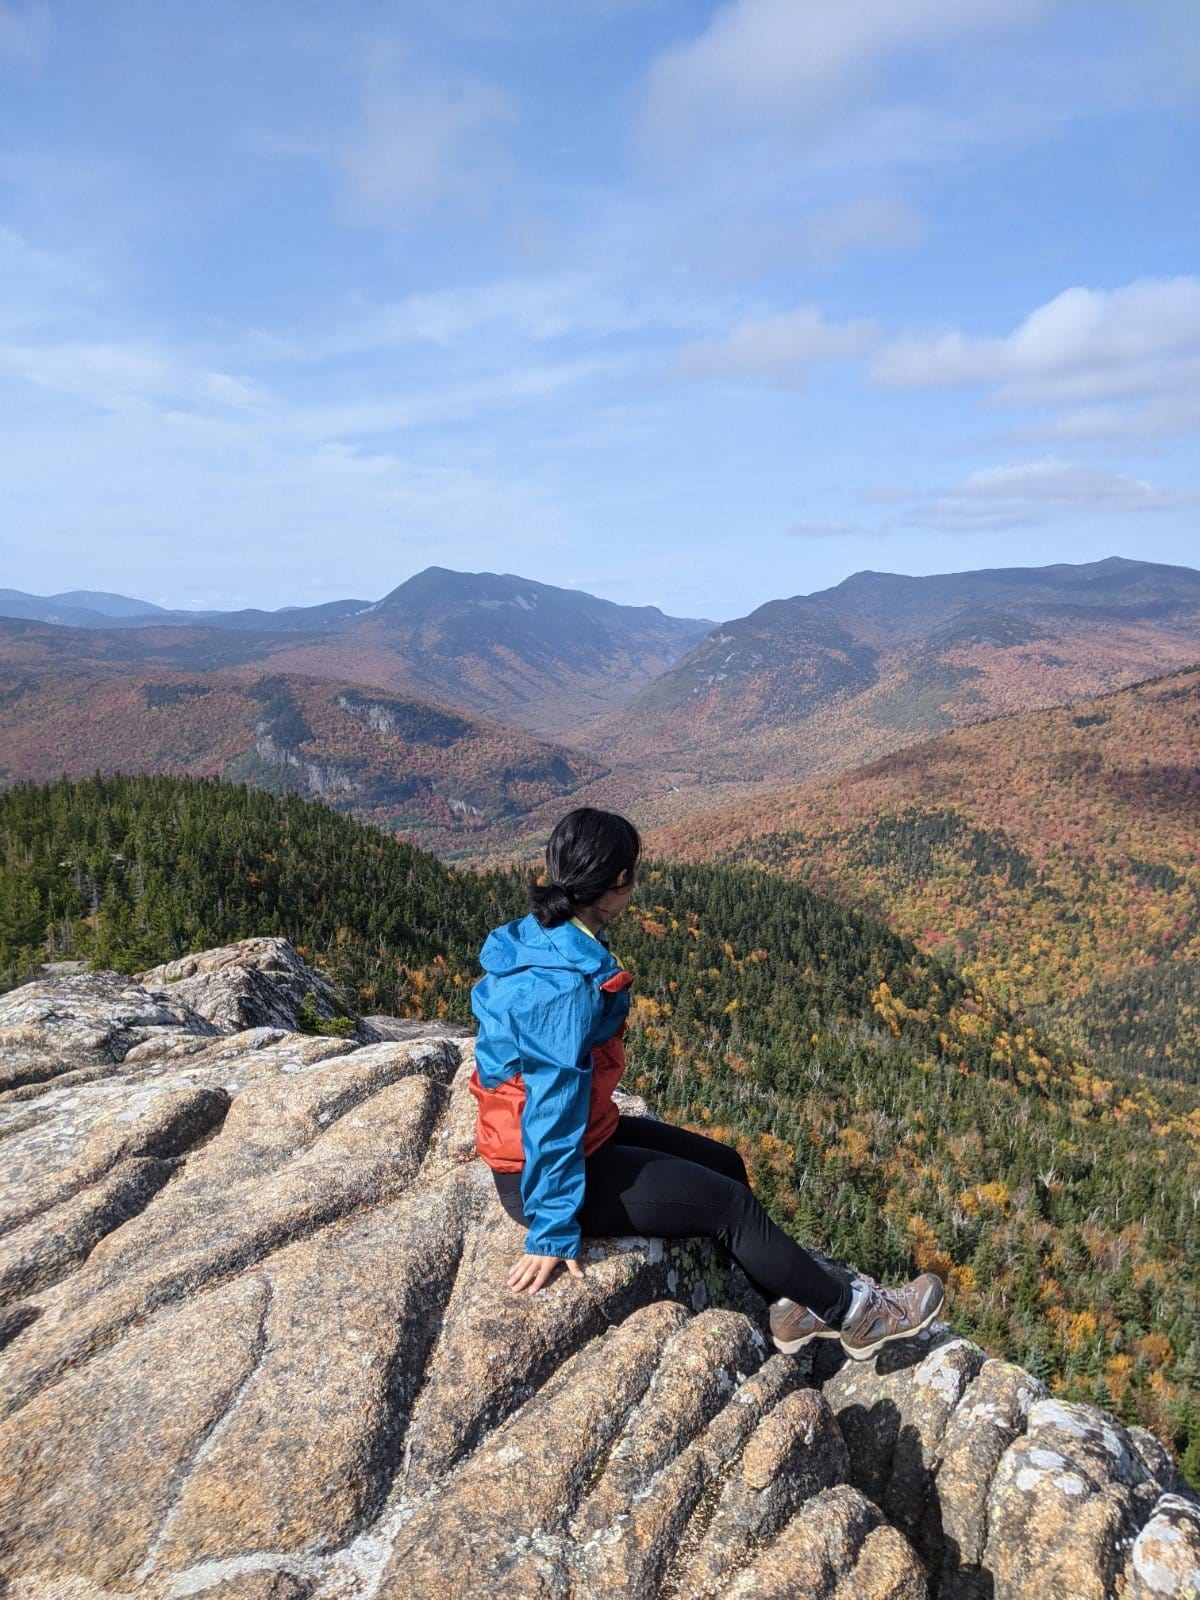


Start the day with a moderately challenging hike at Mt. Crawford. This hike is 5.3 miles long with 2116ft of elevation gain, and it takes around 4 hours (longer if you want to stop for breaks and lunch). As with many trails in the White Mountains, this hike doesn’t really have switchbacks, so it’s quite steep in places; at one point, the dirt path is made so that it’s almost like you’re climbing stairs.
The challenge is well worth it, however, and you’ll be rewarded with a sweeping view of the surrounding mountains.
After your hike, you’ll want to fuel up, so make a stop at The Local Grocer in North Conway. It’s a health food store with a cafe that offers both fresh and pre-prepped foods (including vegan donuts!). There are several other restaurants and shops in North Conway, so you may want to spend some more time in this small town. In fact, it’s also home to the start of the Conway Scenic Railroad, which offers relaxing train rides through the mountains.

We didn’t stop in the town and instead made our way to the Kancamagus Highway (most commonly pronounced cain-kuh-mah-gus and referred to as “The Kanc”). This highway is about 35 miles long and is famous for its stunning views of the mountains, waterfalls, and fall foliage. We went with no plan and simply pulled over whenever we saw a spot that looked nice. My favorite stops were:
- Unmarked spots towards the beginning of the Kanc on the North Conway side—others were pulled over, so we pulled over too to check out the mountain views from the river
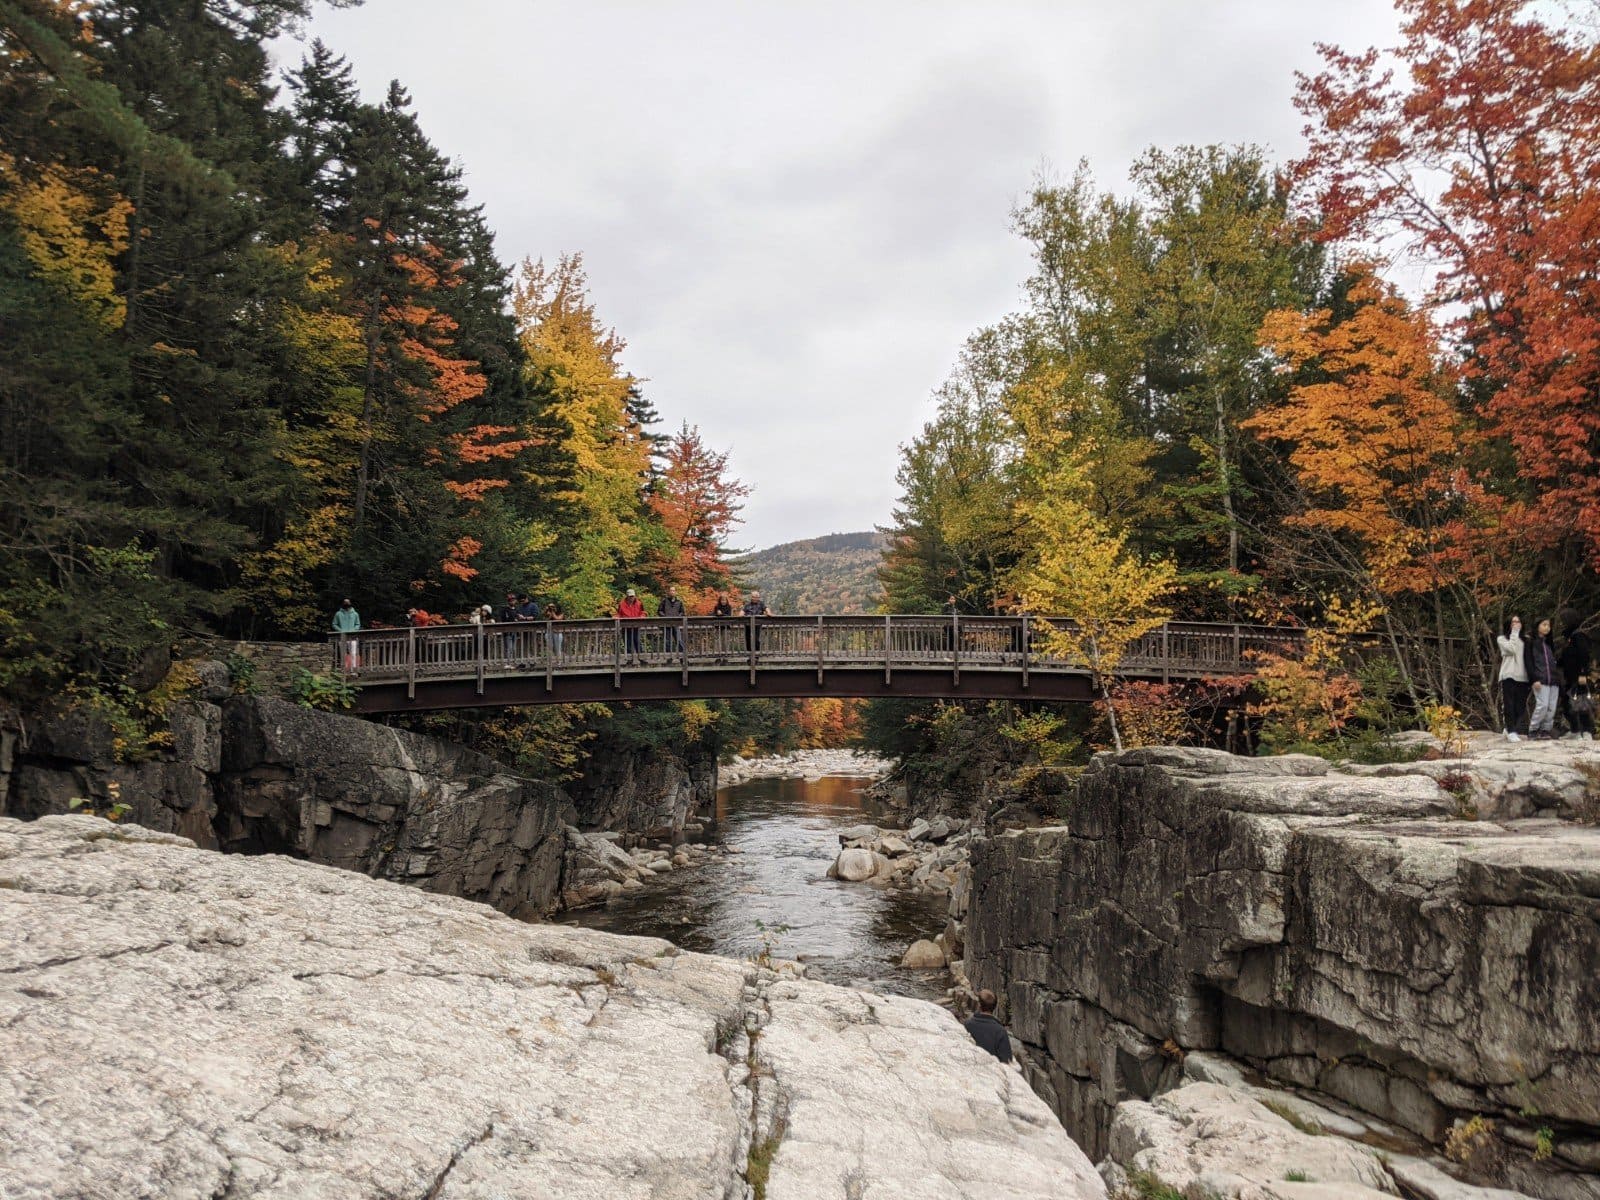
- Rocky Gorge—easily accessed from the parking lot, the waterfall and foot bridge against the fall foliage look like a postcard.
- Sugar Hill Overlook—a popular mountain view
- C.L. Graham Wangan Overlook—another popular mountain view
- Sabbaday Falls—a short hike (less than 1 mile round-trip) brings you to this scenic waterfall. We didn’t stop here due to traffic, but it’s commonly recommended


There are many, many other spots, so I would budget at least 2-3 hours for the drive. We spent around 3 hours on The Kanc, but only half of that was for sightseeing—the rest was being stuck in traffic! The Kanc is a two-lane road, and during peak foliage, there are lots of slowdowns near parking lots and when exiting the highway. It took us over an hour to go the last 5 miles of the road.
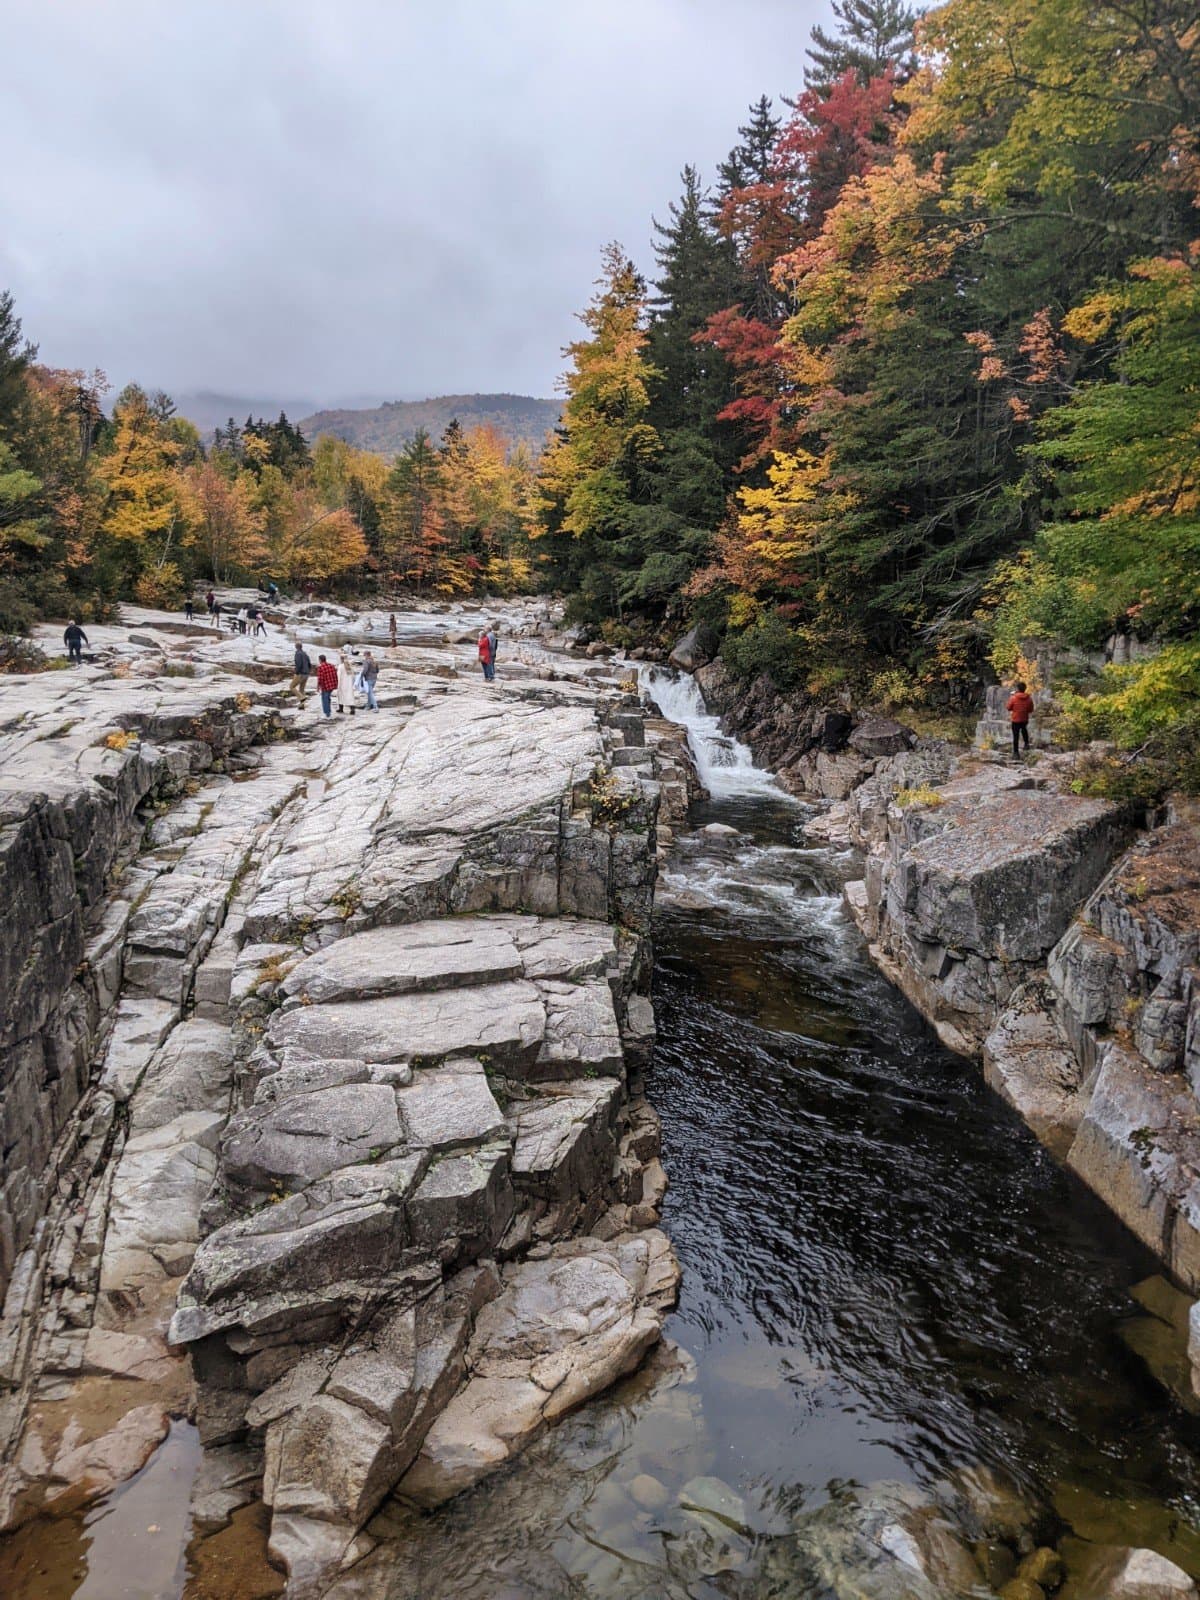
Rocky Gorge views
So make sure to fuel up before you go, especially since there are no businesses or gas stations along the route. You should also bring $5 in cash and a pen for the daily parking fee, which can be put in an envelope and dropped off in boxes at popular spots along The Kanc (you can also buy the parking pass at some local vendors).
Once you exit The Kanc, you can grab dinner in Lincoln, a popular town in the White Mountains. Since it was already dark, we drove back to St. Johnsbury instead and ordered Chinese takeout to eat over a campfire.

Crowds at Sugar Hill Overlook
Day 3: Mt. Pemigewasset


On your last day, start off with another moderate hike to the top of Mt. Pemigewasset. This hike is 3.7 mi with 1253ft of gain and takes 2-3 hours. The peak has a wide, stone top with lovely views of the fall foliage—but the dropoff is very steep, so don’t go too close to the edge!
If you have extra time before heading home, stop by Flume Gorge in Franconia Notch State Park. This 2.2 mi hike has 488ft of gain and takes you through a natural gorge with beautiful waterfalls. You do need to pay $16-21 for entry, and you can save money by reserving online.
On your way home, grab lunch in Lincoln or North Woodstock, which are home to plenty of restaurants.
Other Hikes to Consider
In the ample research we did for this trip, there were several other stunning hikes we considered. If the ones recommended above don’t work for you, or you’re looking for hikes closer to your accommodation, consider these:
- Franconia Ridge (8.4 mi, 3800 ft gain)
- Lonesome Lake (3.1 mi, 1000 ft gain)
- Welch Dickey Loop (4.4 mi, 1700 ft gain)
- Mt. Willard (3.1mi, 900 ft gain)
- Arethusa Falls (4.9mi, 1600 ft gain)
- Mt Moosilauke (7.1mi, 2500 ft gain)
What to Pack for Your Trip to the White Mountains
If you’re planning to shop on Amazon, I have some affiliate links for products that I use and love. If you want to avoid Amazon, consider shopping instead at REI or Dick’s Sporting Goods or buying from a small, local shop.
Trekking poles—These are helpful for hikes with significant elevation gain, as they take some strain off of your legs; they also have kept me from falling on steep descents. I use Black Diamond Distance Carbon Z poles. They’re quite pricey, but I really wanted high-quality, lightweight Z-fold poles since I was hoping to use them for trail races. If Black Diamond is out of your budget, these Foxelli poles and Paria poles are more affordable and well-reviewed.
Hiking boots—I purchased Clorts boots a few years ago since they were the most affordable hiking boots I saw on Amazon. The model I got back then is now unavailable, but this pair looks similar and has more ankle support than mine.
Hydration pack—I didn’t bring my hydration vest on this hike, but I use this Triwonder one for my trail runs and shorter hikes. I like that it doubles as a small backpack at 10L, has a phone pocket on the left chest, and lets me secure my poles on the back with the adjustable elastic. You also get a free emergency blanket and whistle with the pack.
Map of Places to Go in the White Mountains
Here’s an interactive Google Map of all the spots in the itinerary. Click the icon on the top left to see the names of these places.